A lot goes into being a responsibly armed citizen – choosing the right gun and ammunition, getting quality instruction, knowing the local laws, choosing your gear, and then practicing skills at the range. Rinse and repeat, the list goes round and round. If you expect to carry a gun every day, one of the most critical skills to develop is a proper draw. How can you defend yourself if you are unable to safely draw and present to your target? Unfortunately, we find this skill is usually under-trained in most of the students we teach.
Proper draw mechanics are not difficult, but definitely require dedicated practice to develop instinctive muscle memory. Unfortunately, most indoor ranges will not allow drawing from a holster. What to do? Dry-fire practice at home! You can use your carry gun, but – as with all dry-fire practice – be absolutely sure that the gun is unloaded and remove all live ammunition from the practice area. Other options are to invest in one of the many laser training devices, such as Next Level Training’s SIRT pistol, or find a replica airsoft gun that matches your preferred carry firearm.
Now on to proper mechanics. As you begin to practice these steps, remember the old hand-gunner quote – “Slow is smooth and smooth is fast.” Be deliberate in your motions and get it all right every time. As you progress and develop perfect mechanics, speed will follow. For now, leave out the clearing away of any clothes and focus on just getting all the mechanics of the draw perfected.
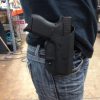
Grip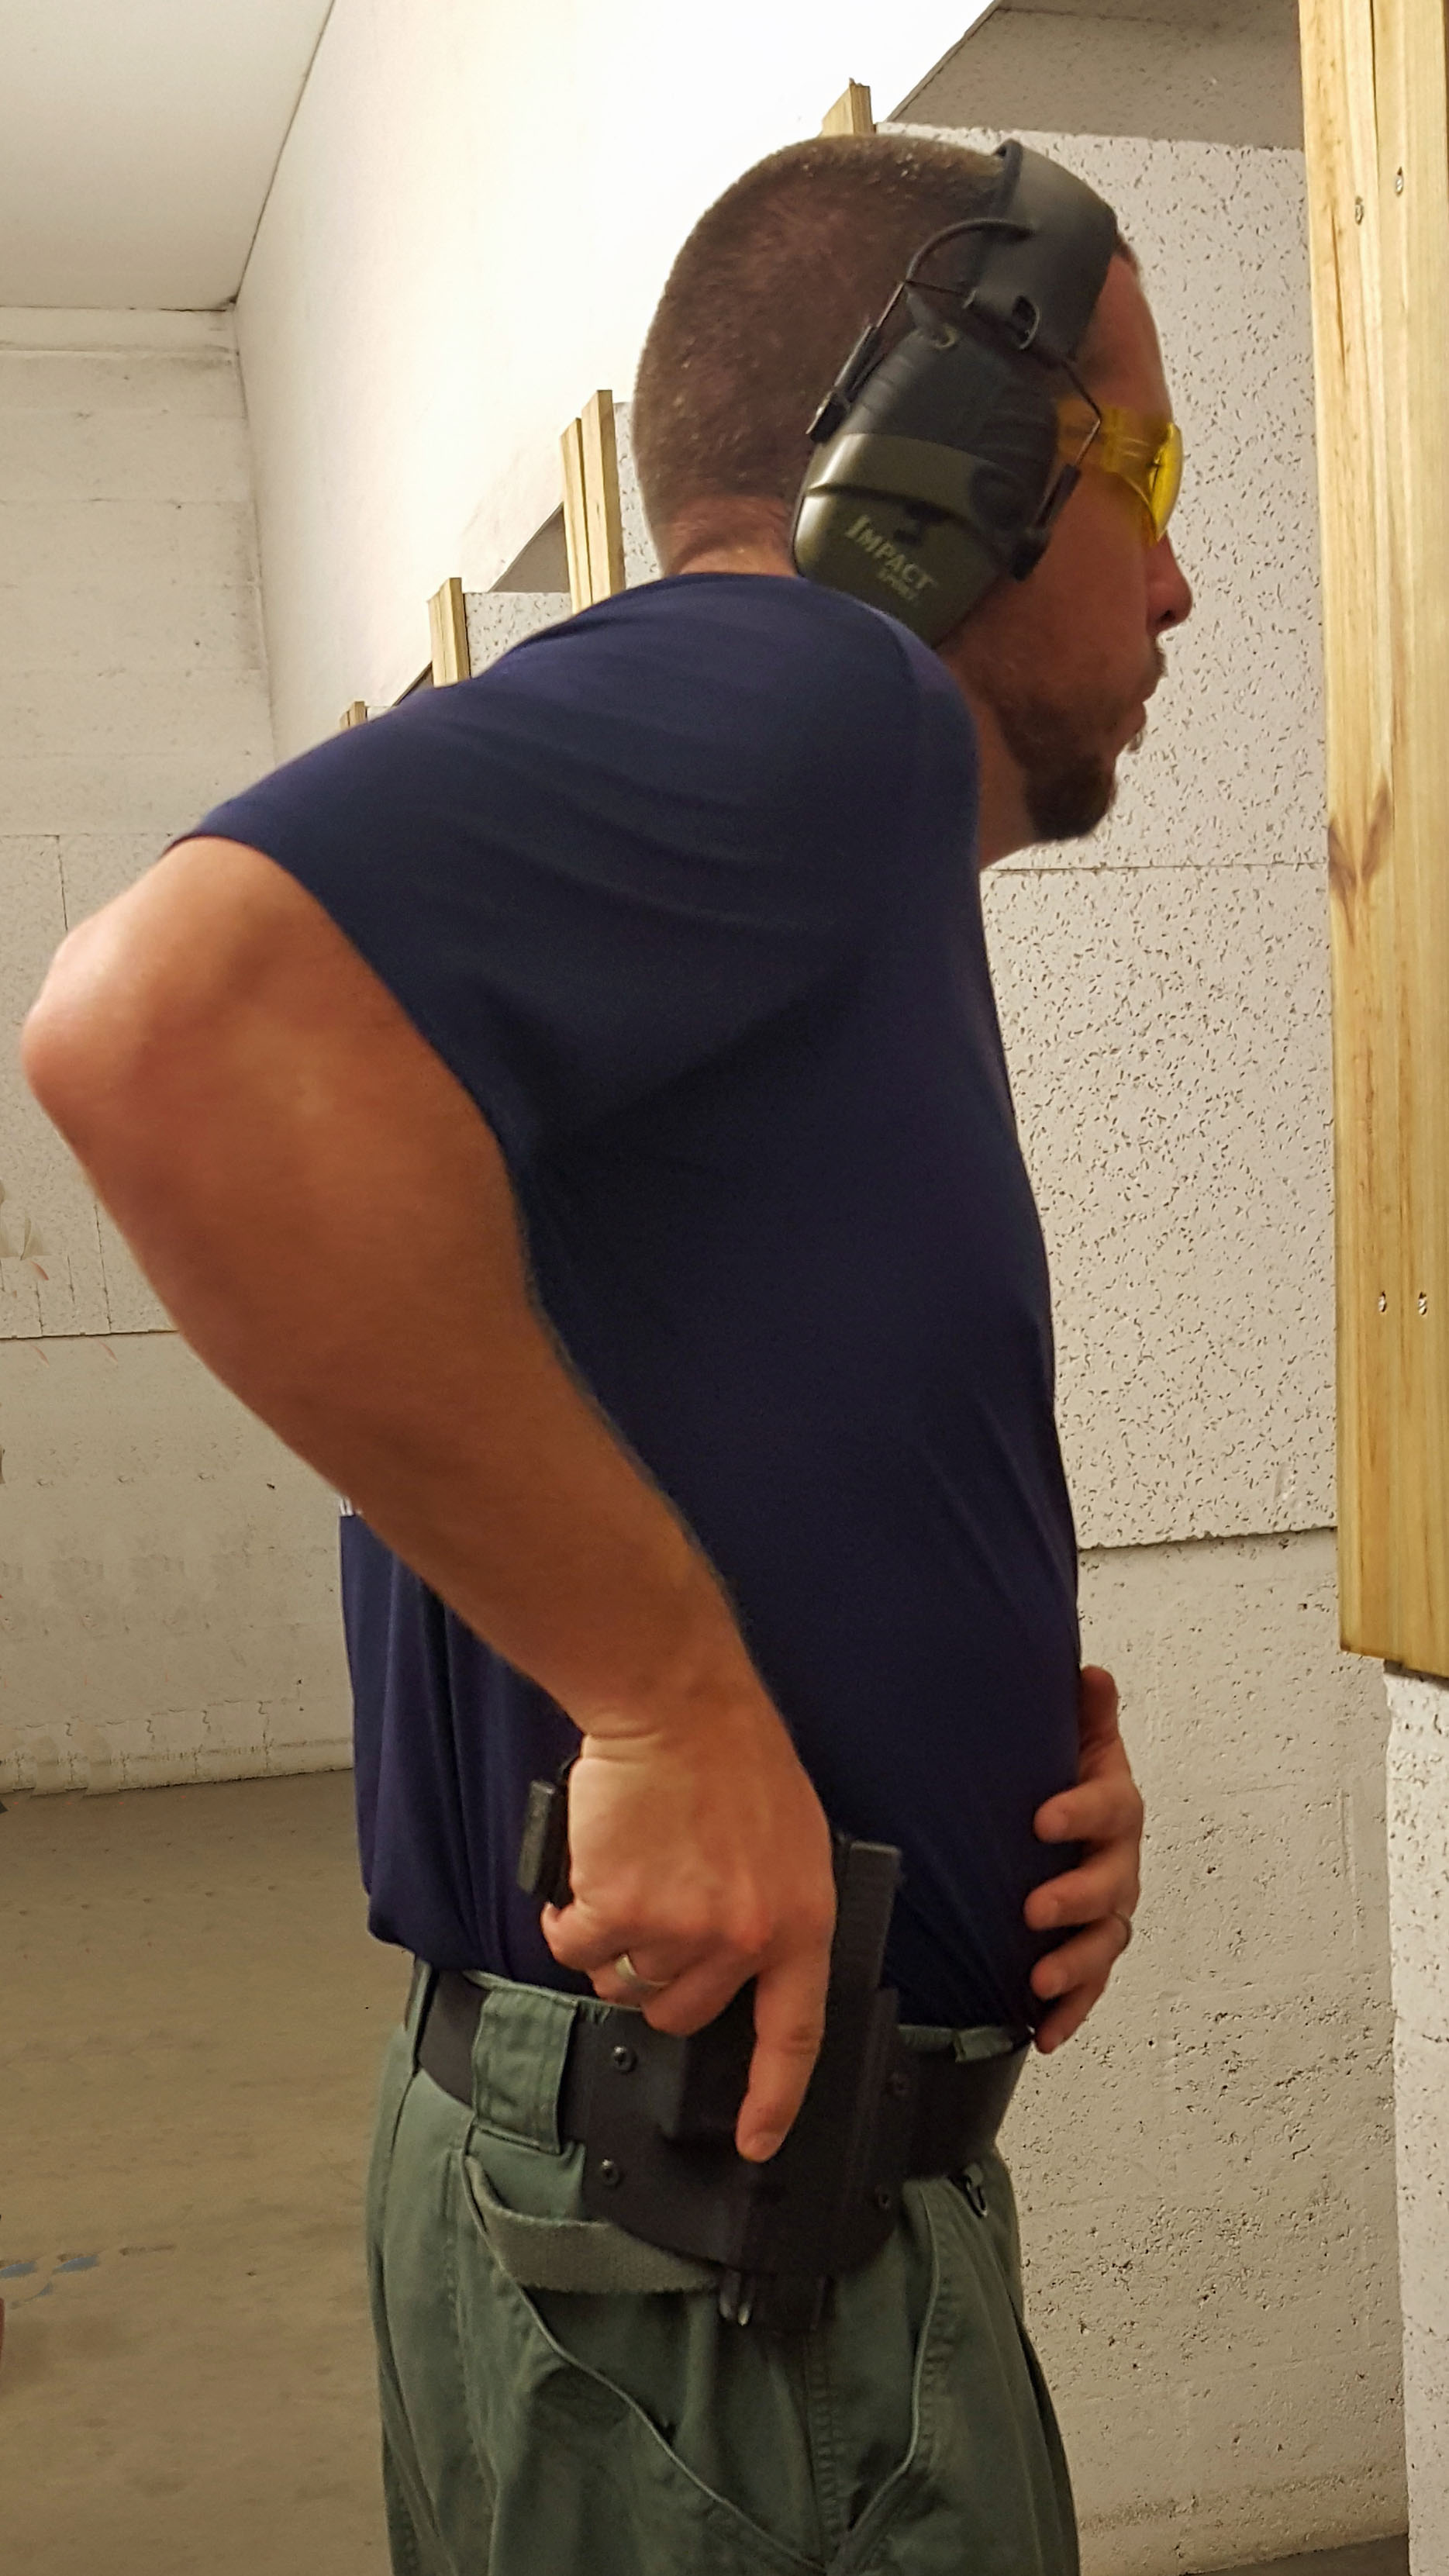
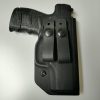
Your first objective is to get a solid firing hand grip on the gun as it sits in your holster. Using a good outside-the-waistband kydex holster (like the one I’m wearing in the photos) helps facilitate this initial step. Grab the grip of your gun firmly just as you would if you were standing at the firing line and shooting with a normal two-handed grip. Your support hand moves simultaneously into position and should be generally centered on your body and on even height with your firing hand.
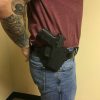
Clear
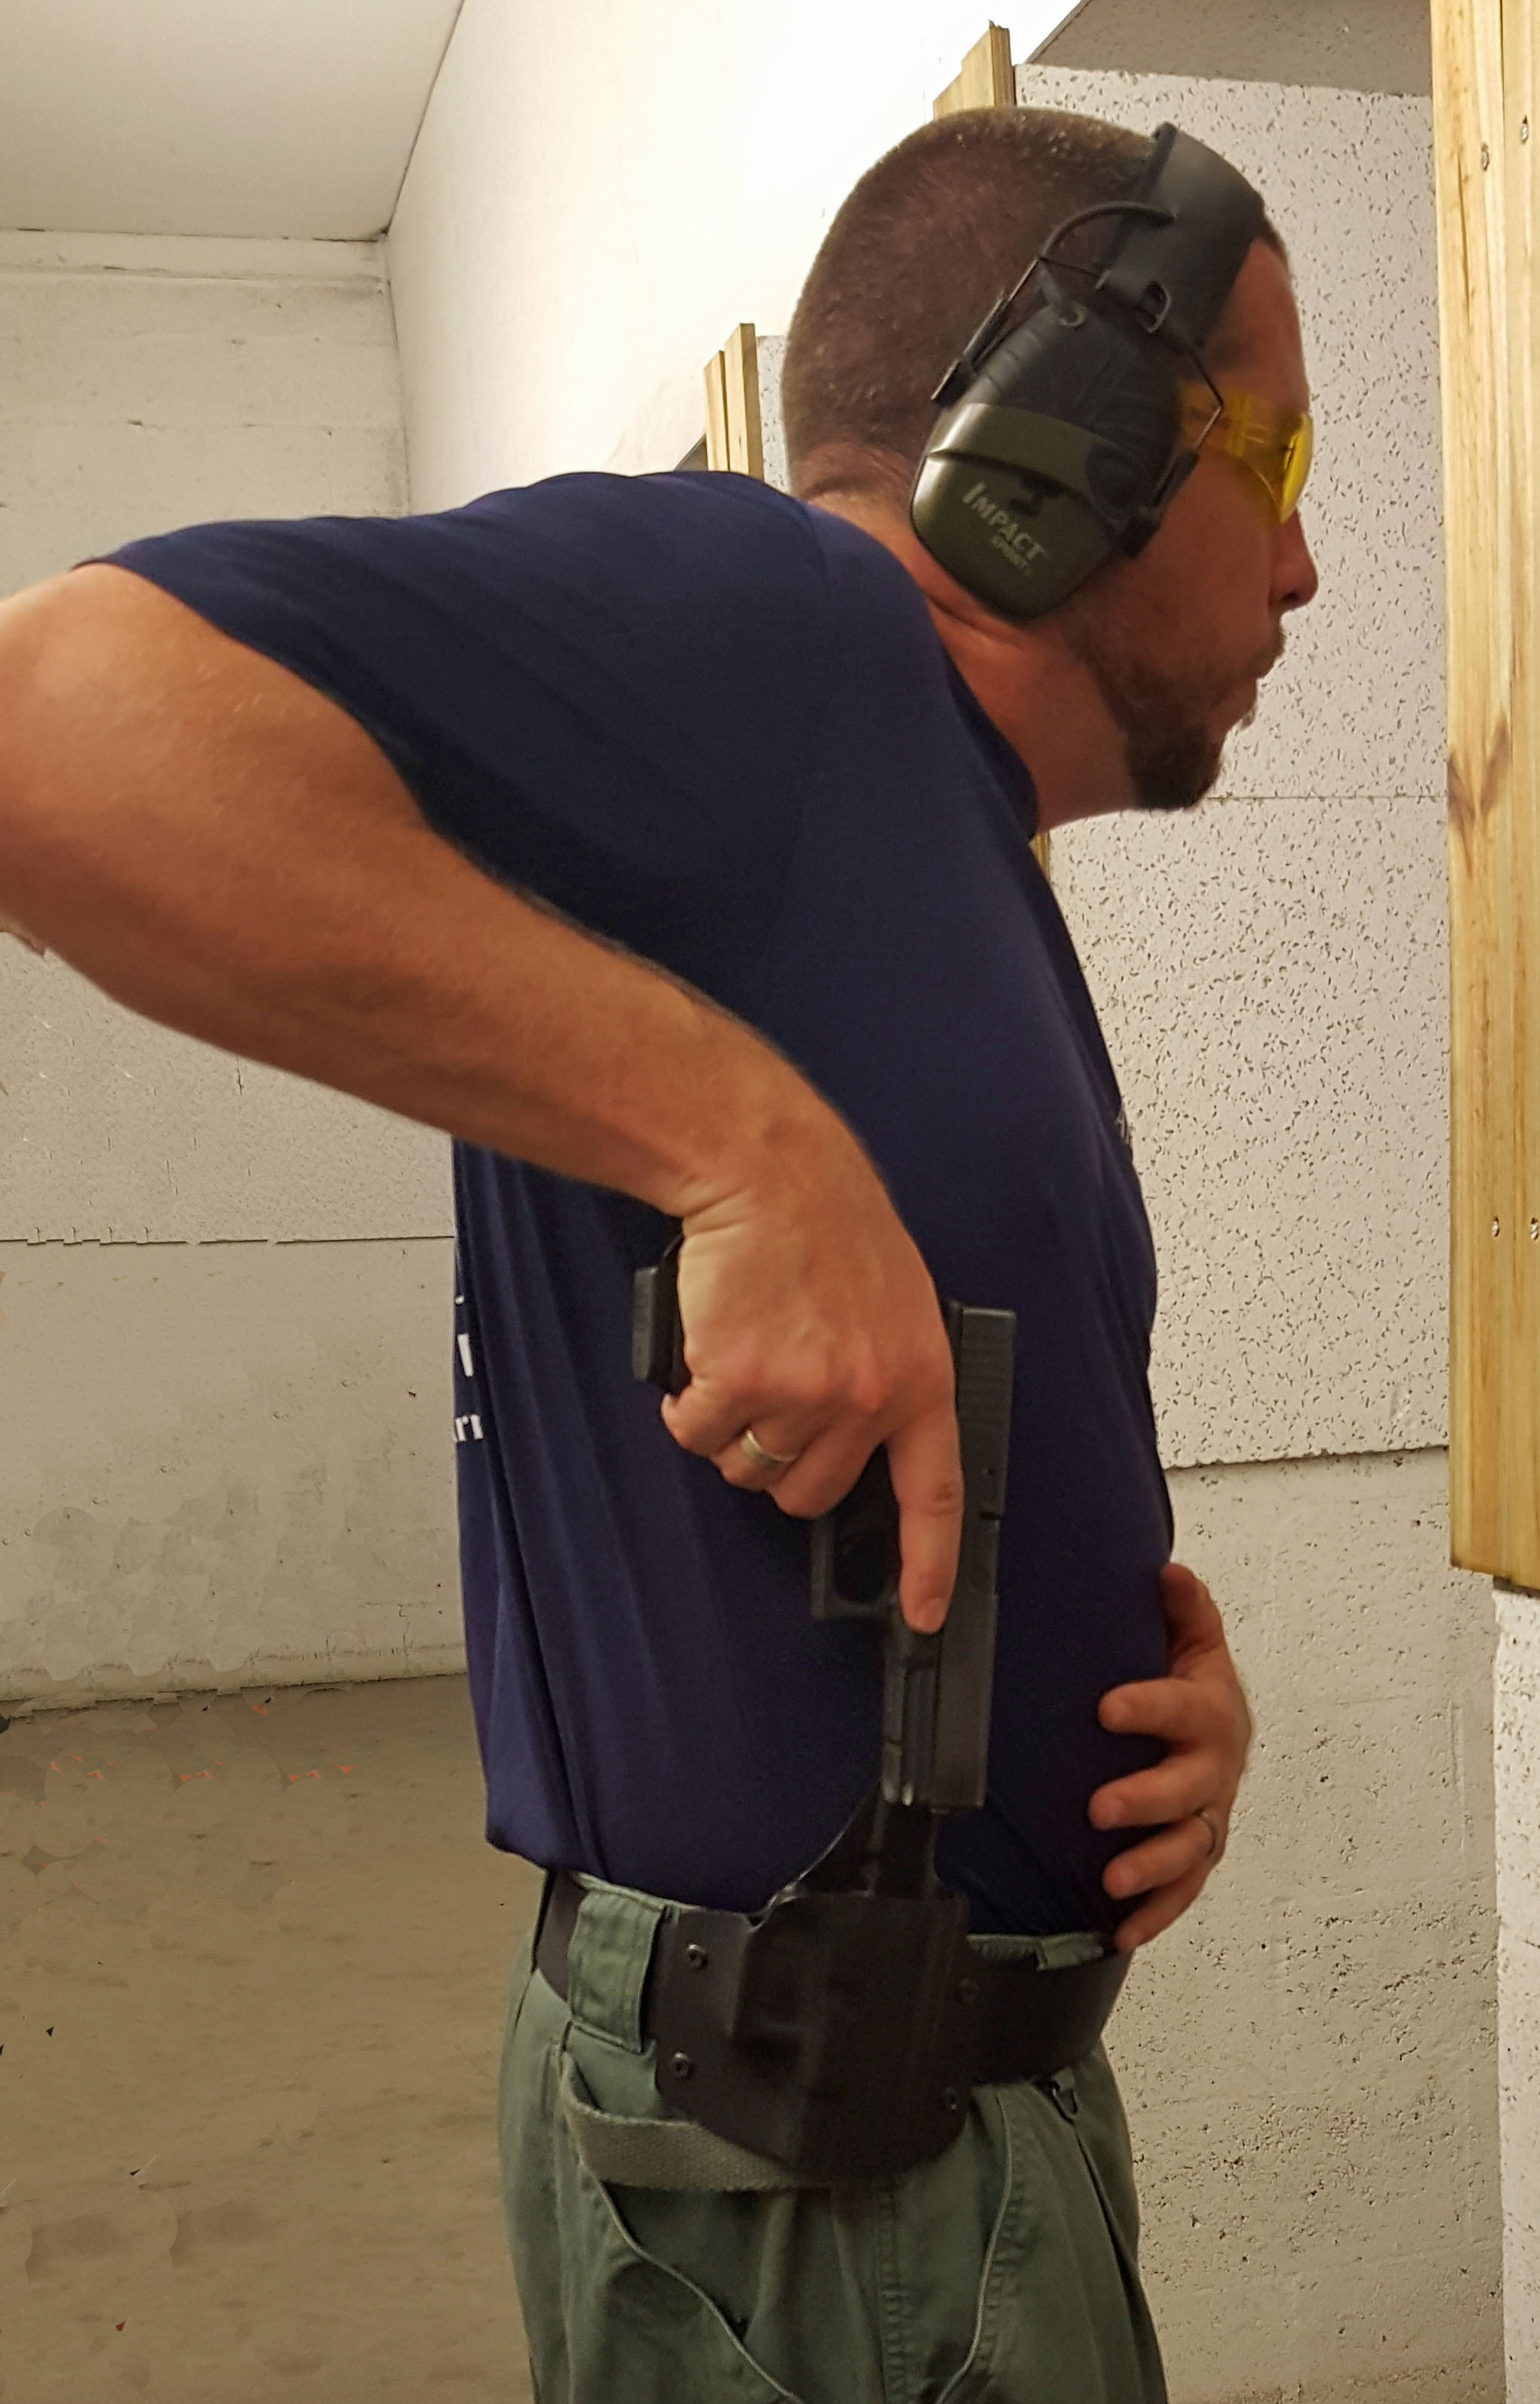
Once your firing hand has a firm grip, the goal is to draw the gun straight up and completely out of the holster. Drive your elbow high and remember – keep your finger off the trigger and completely out of the trigger guard until you are pointed at your target and are ready to shoot.
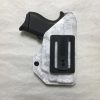
Rotate
When you have cleared the holster, it is time to  drop your elbow and rotate your firearm ninety degrees so that it is now pointed straight ahead. Our favorite instructor, Don Larson of Frontline Firearms Training, likes to call this step “Rock and Lock” because, at this point, you are able to put rounds into your target if a close quarters defensive situation requires you to do so. Your finger should still be resting on the frame outside the trigger guard unless you intend to shoot.
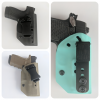
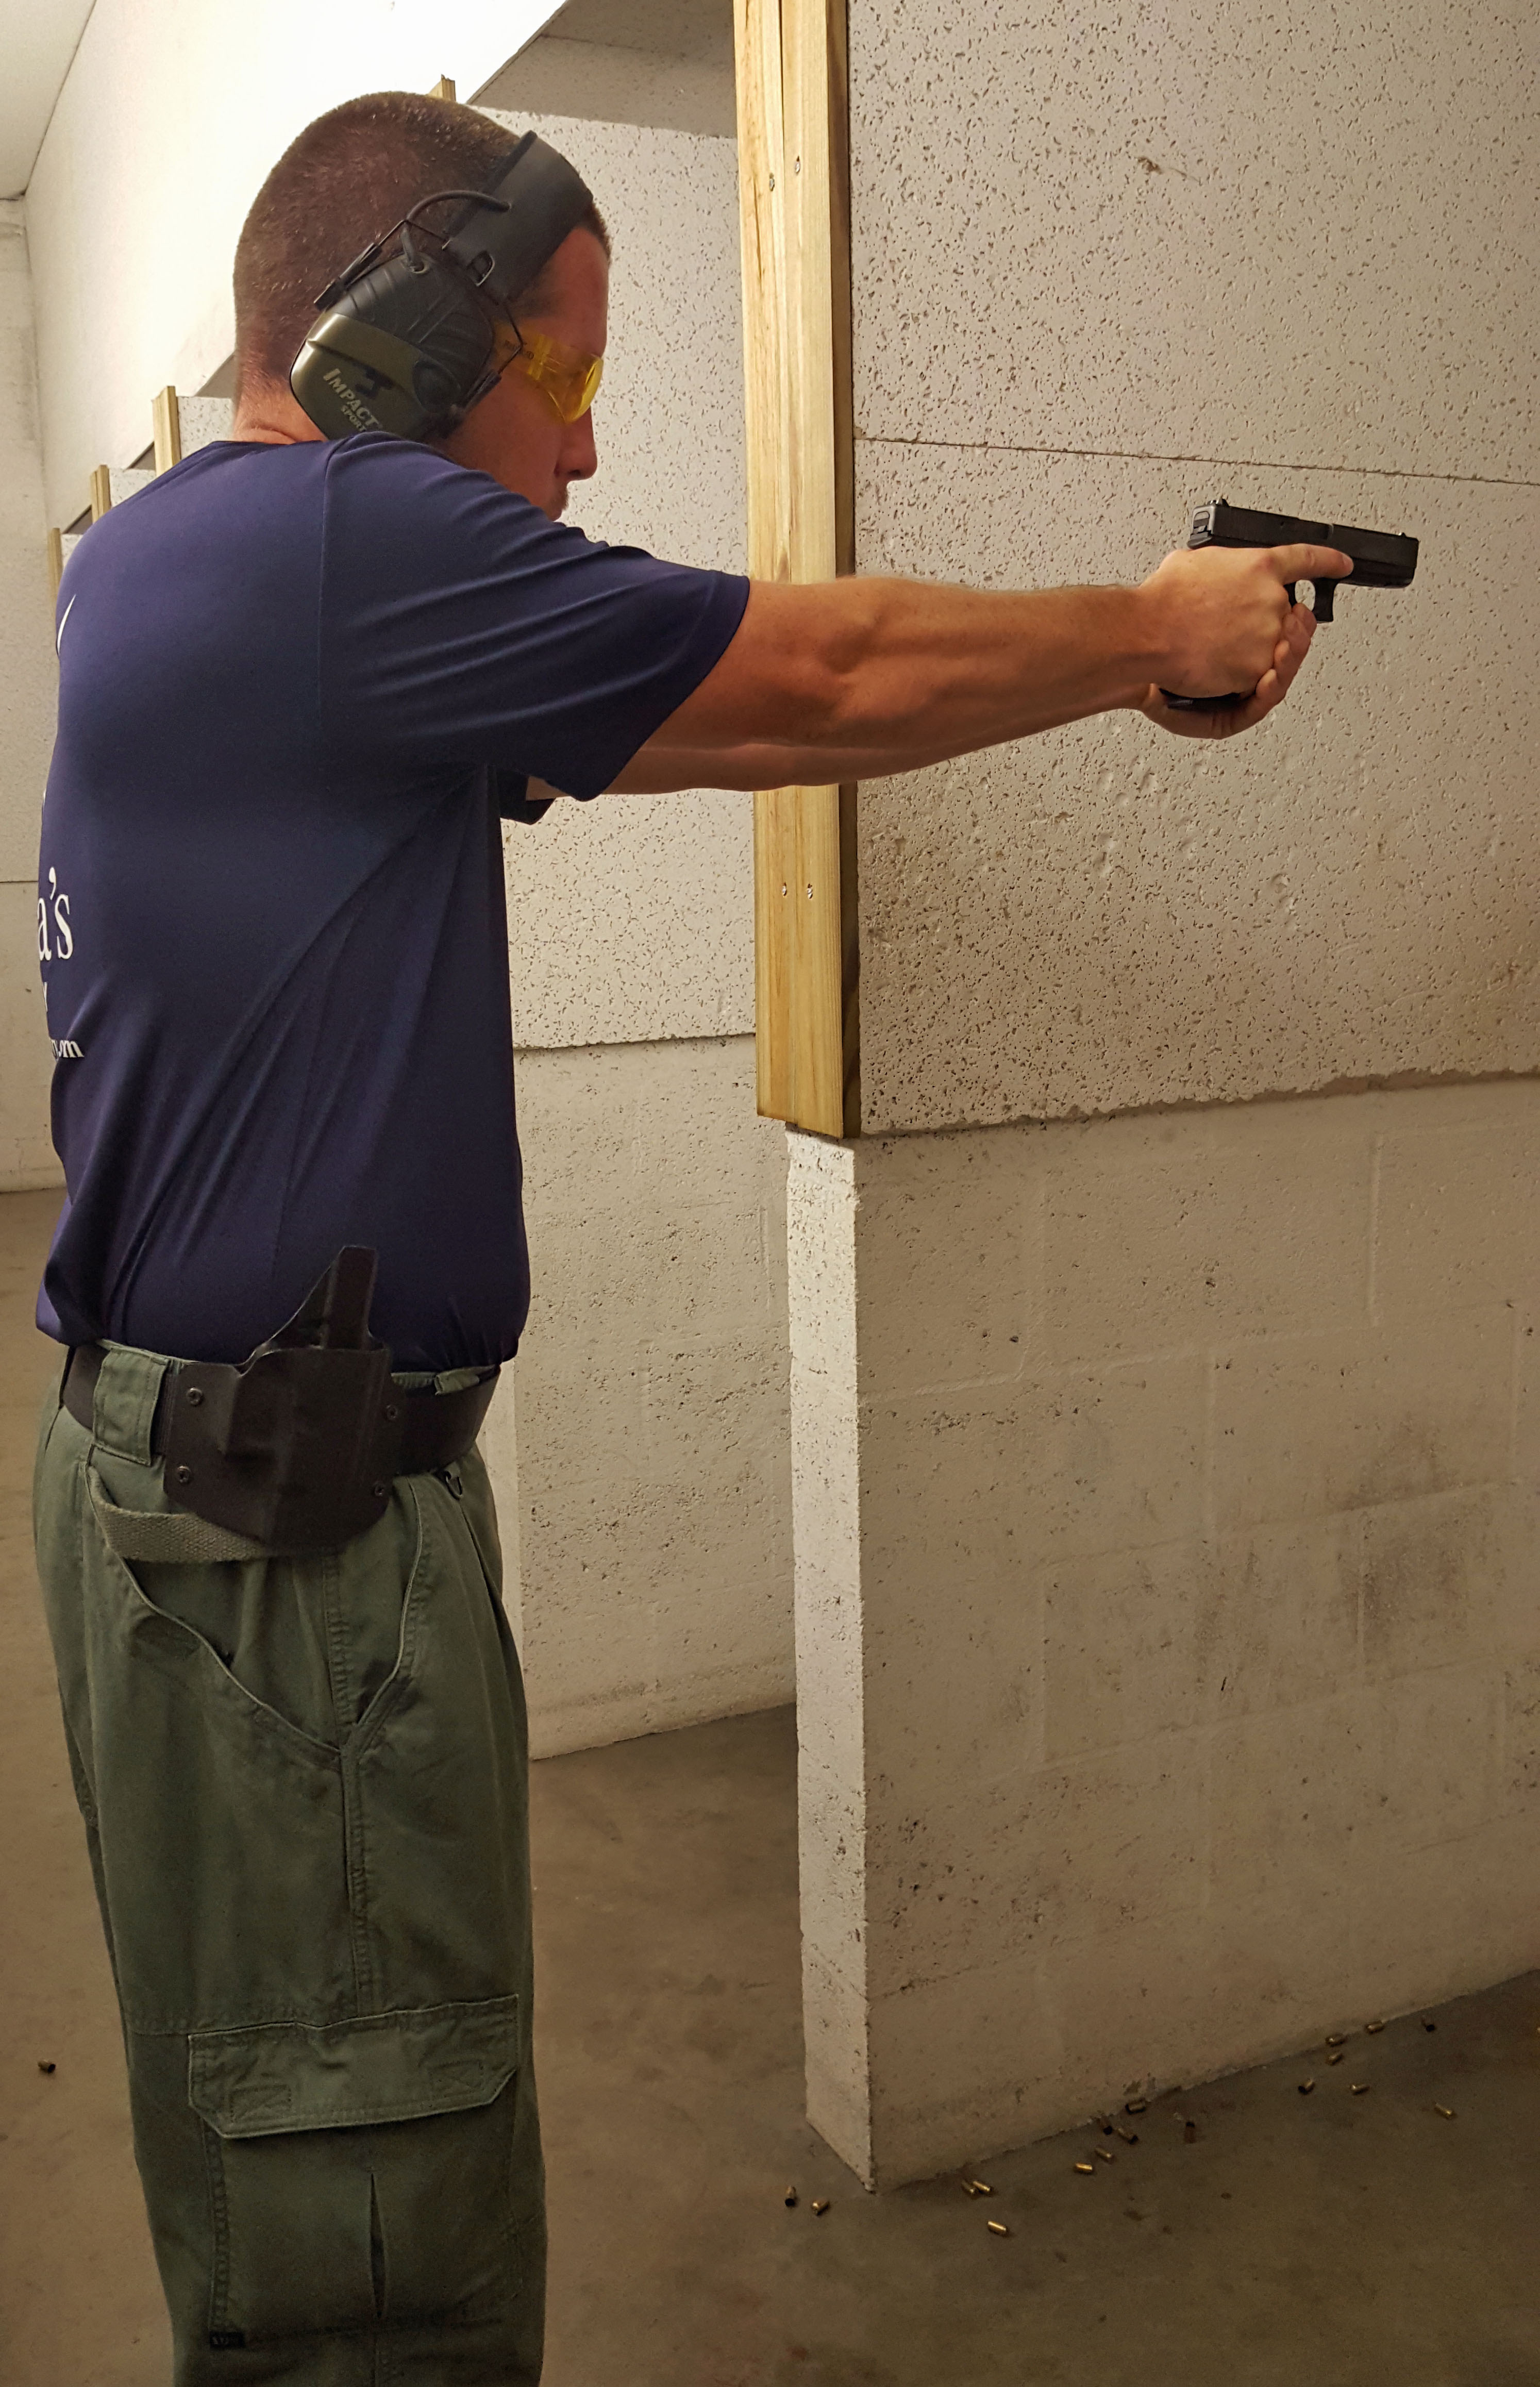 Extend
Finally, your support hand and firing hand meet and then you drive your hands out to a fully supported firing position and break the shot. At full extension, your eyes should see the sights aligned on the target. Again, remember to keep your finger off the trigger until your sights are on target and you are ready to shoot.
Tips: When you are practicing, present your handgun to a target, such as a paper plate with a black circle drawn or other shooting target and make sure you can draw with your eyes closed and get the sights aligned on that target every time. Also, the re-holstering process follows the same pattern, but in reverse – be sure to do this deliberately as well.
As you can see, this isn’t rocket science, so get a holster and start practicing. If you carry in a different position, then adapt your training to meet that need. If you need help, of course, Athena’s Armory Defensive Training offers one-on-one training for this type of skill. Please contact us if you want to set up a date or have any questions. And remember – slow is smooth and smooth is fast!